Perfect .NET CI/CD with Azure Pipelines
Every time I start a new .NET library on GitHub and want to publish it I'm struggling with CI. Most of the projects are quite simple - single or multiple libraries, a unit test library, and maybe some other trivial stuff. What I'd like to achieve from CI/CD is the following:
- It needs to build my code on push and on PR.
- It needs to run tests.
- It needs to package libraries in NuGet, with a proper version. I'd like to have all the properties populated, like license, package icon and so on.
- Push them to NuGet.org if the commit is to master branch.
- Create GitHub release notes.
I used to struggle with this for quite some time in previous projects, use 3rdparty plugins for Azure Pipelines, write PowerShell scripts, and so on. Then my frustration grew so much I've decided that all I do must be totally wrong, because it's such a simple and repetitive task. And I believe I've solved it with minimum steps involved. I'll go step by step explaining this.
I'm not going to explain the basics of YAML pipelines and assume you know what it is and have created a few already. I suppose you've already put azure-pipelines.yaml in the root of your GitHub repo.
Triggering Builds on Commits to Master and PR
Triggering build is simple - I need to define trigger and pr elements in yaml, this is the very beginning of my yaml:
trigger: # when to trigger a build
  batch: true # means that if there are more changes when build is running, they will be waited for instead of starting a parallel build
  branches:
    include:
      - master # trigger only on changes to master branch
  paths:
    exclude: # what to ignore for trigger - I don't need to rebuild on changes to documentation
      - README.md
      - doc/**/*

pr: # when to trigger a "PR" build.
  branches:
    include:
      - master
  paths:
    exclude:
      - README.md
      - doc/**/*
The comments are self explanatory. You can read more about triggers in Azure Pipelines documentation. pr section is interesting - it basically says that a build should be triggered no matter where the code comes from - it can be inside your repo or someone else's, however if PR is created in GitHub, your pipeline will fetch the code automatically and build with your pipeline. Done deal ☕.
Building and Testing
Running builds is actually quite trivial, you can use the built-in dotnet task in your pipeline. Let's say your code is located under src folder, and there is Snappy.sln solution file, then to run build and unite tests you can simply write the following:
- task: DotNetCoreCLI@2
  displayName: 'build all'
    inputs:
    command: 'build'
    projects: 'src/Snappy.sln'
    arguments: '-c release'

- task: DotNetCoreCLI@2
  displayName: 'run tests'
    inputs:
    command: test
    projects: ./src/Snappy.sln
    arguments: '-c release'
First, I run the build task, to check if the code actually builds. Failure to do so will terminate the whole pipeline. Then run unit tests with test command, all in release mode. However, that's never been an issue for me. The main one is how do I set the version of the library when building? Read on 💨
Packaging for NuGet
Before I go into the versioning, let me talk about versioning briefly. This is also a very simple task. On early stages of the project it's actually much easier to edit this information in project properties like so:
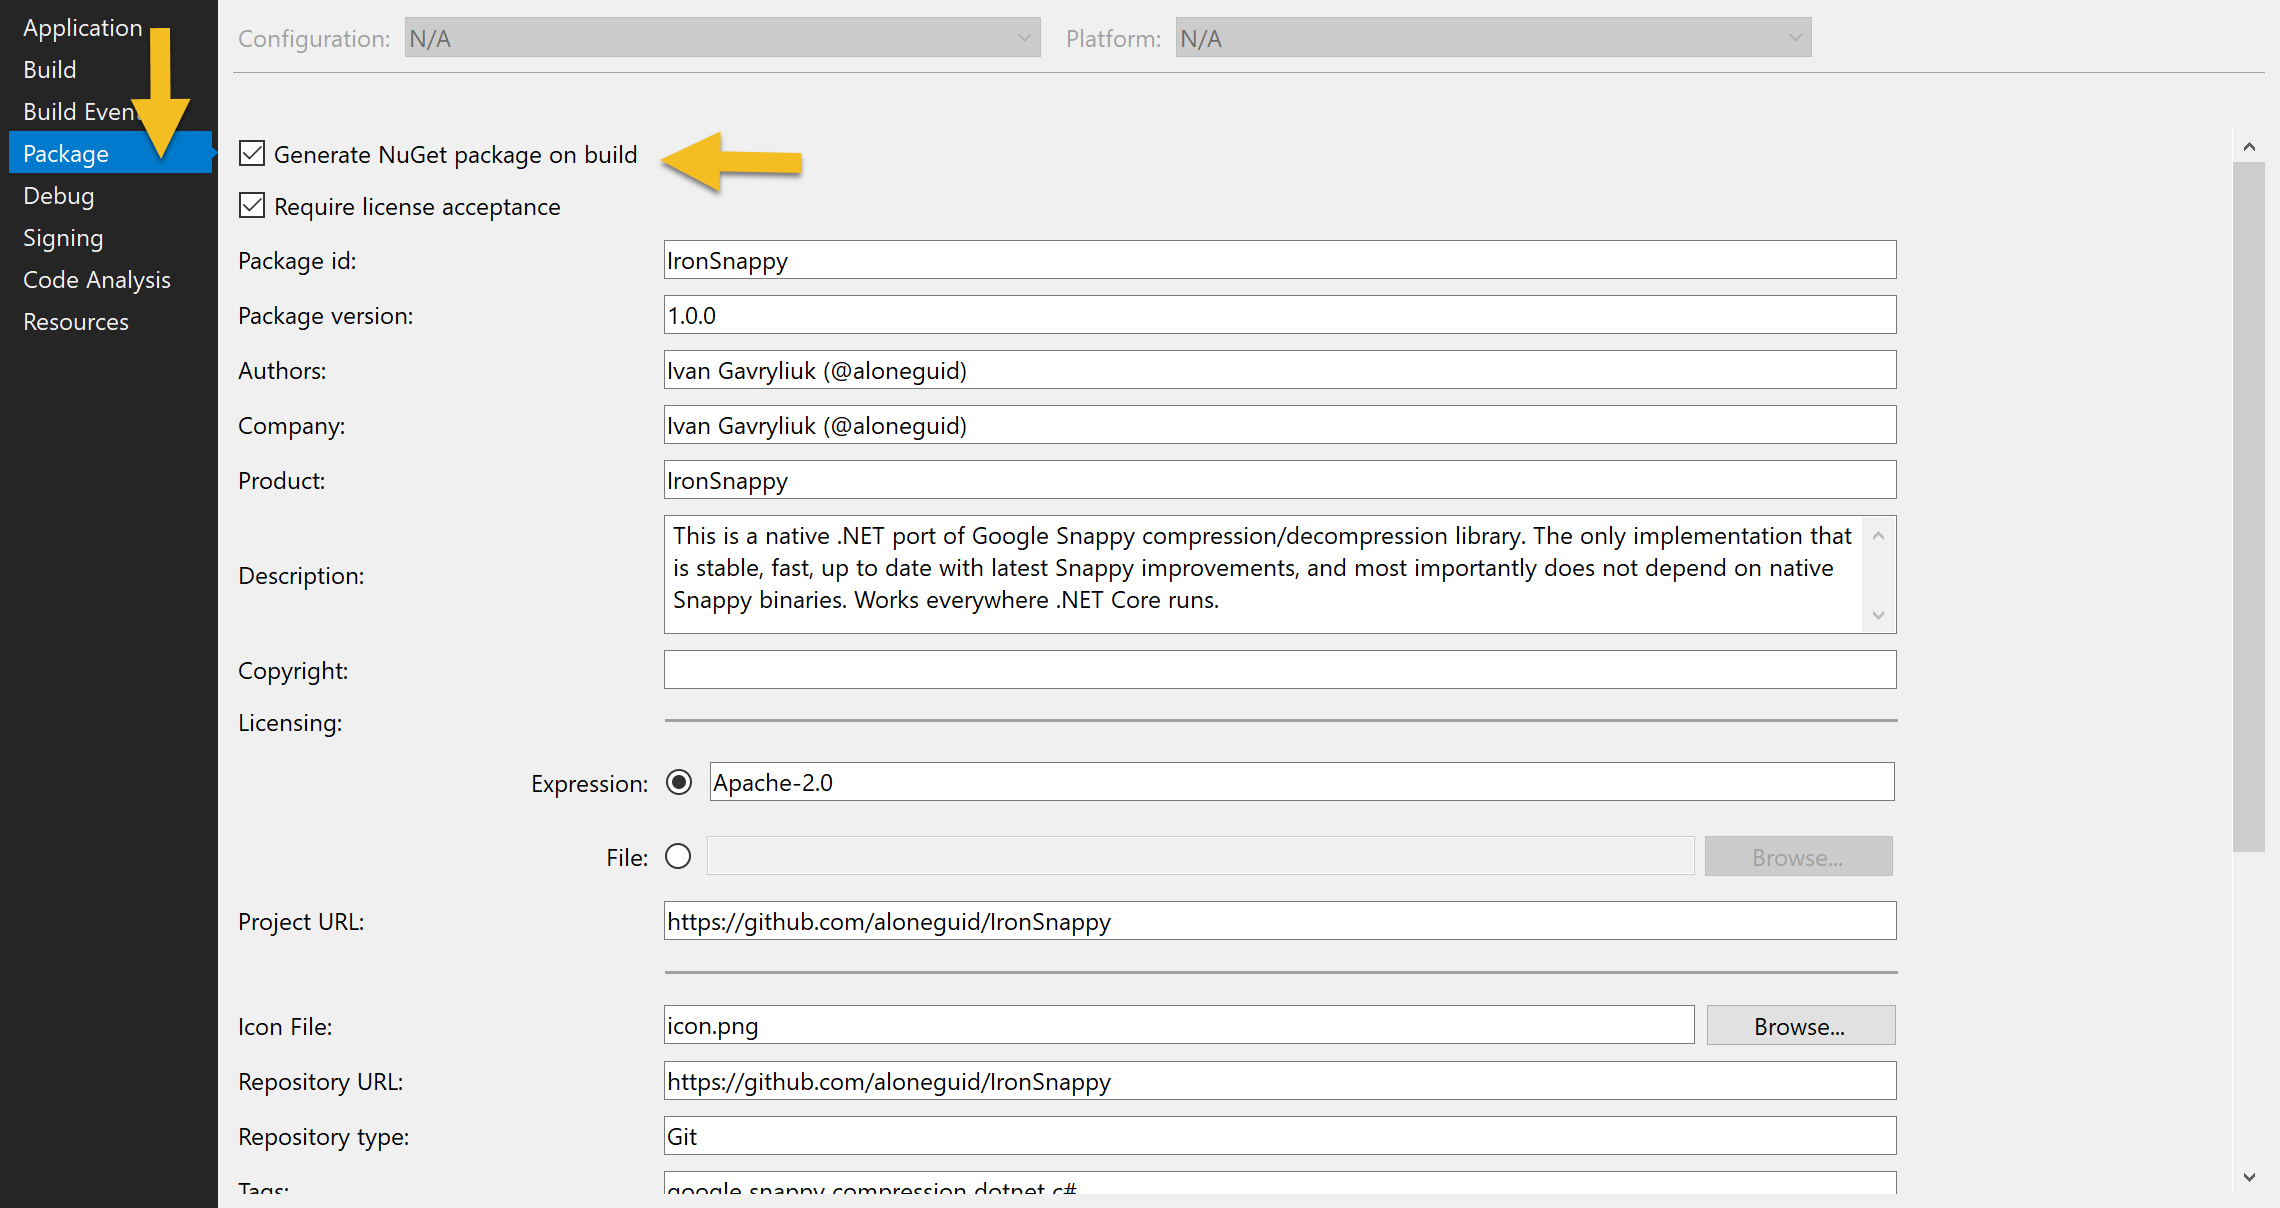
which will in turn modify .csproj file. This is the ProperyGroup generated:
<PropertyGroup>
    <PackageIcon>icon.png</PackageIcon>
    <PackageLicenseExpression>Apache-2.0</PackageLicenseExpression>
    <GeneratePackageOnBuild>true</GeneratePackageOnBuild>
    <Version>1.0.0</Version>
    <Description>This is a native .NET port of Google Snappy compression/decompression library. The only implementation that is stable, fast, up to date with latest Snappy improvements, and most importantly does not depend on native Snappy binaries. Works everywhere .NET Core runs.</Description>
    <PackageProjectUrl>https://github.com/aloneguid/IronSnappy</PackageProjectUrl>
    <RepositoryUrl>https://github.com/aloneguid/IronSnappy</RepositoryUrl>
    <RepositoryType>Git</RepositoryType>
    <PackageTags>google snappy compression dotnet c#</PackageTags>
    <PackageReleaseNotes>see release history - https://github.com/aloneguid/IronSnappy/releases</PackageReleaseNotes>
    <PackageRequireLicenseAcceptance>true</PackageRequireLicenseAcceptance>
    <Authors>Ivan Gavryliuk (@aloneguid)</Authors>
</PropertyGroup>

<ItemGroup>
    <None Include="icon.png" Pack="true" PackagePath="" />
</ItemGroup>
Note that Version is the tag used by dotnet build or dotnet pack command to actually generate package version. If we could just change it on the fly, it would be awesome.
Versioning
Now that we've got proper .csproj with all the information we need, it's time to generate NuGet package. Note that the package is generated automatically, because we've set <GeneratePackageOnBuild>true</GeneratePackageOnBuild> element in .csproj. It's just it will always use version 1.0.0 (from <Version>1.0.0</Version>).
There are multiple ways to define a version for your project. You can use Azure Pipeline's built-in variables (specifically these, like Build.BuildNumber and so on) or GitVersion which can generate a number based on your Git revision history. Honestly, I've tried both and I didn't like them for many reasons. The first one will rely on Azure Pipelines project location for some variables, and GitVersion requires a third-party add-on for Pipelines, which is quite unstable.
I've ended up defining my version number explicitly in the yaml file, as I see many benefits in that:
- I know which version I'm working with by looking at the code.
- I want to explicitly set version number before the release in code, based on what I've changed, instead of relying on automatic versioning. Automatic versioning is good when it works, but I've found that I need to come back and correct it just too often.
Therefore I just declare a variable in yaml:
variables:
  v.prefix: '1.1.0'
v.prefix is the version I should build with. How do we pass it to the .csproj? Fortunately, you can redefine any property value from .csproj from command line. For instance, to change the version number during build (Version property) I can do the following:
dotnet build src/Snappy.sln -c release /p:Version=value
It's just a matter of passing it to the task, and it's done in the following way:
- task: DotNetCoreCLI@2
  displayName: 'build all'
    inputs:
    command: 'build'
    projects: 'src/Snappy.sln'
    arguments: '-c release  /p:Version=value'

- task: DotNetCoreCLI@2
  displayName: 'run tests'
    inputs:
    command: test
    projects: ./src/Snappy.sln
    arguments: '-c release /p:Version=value'
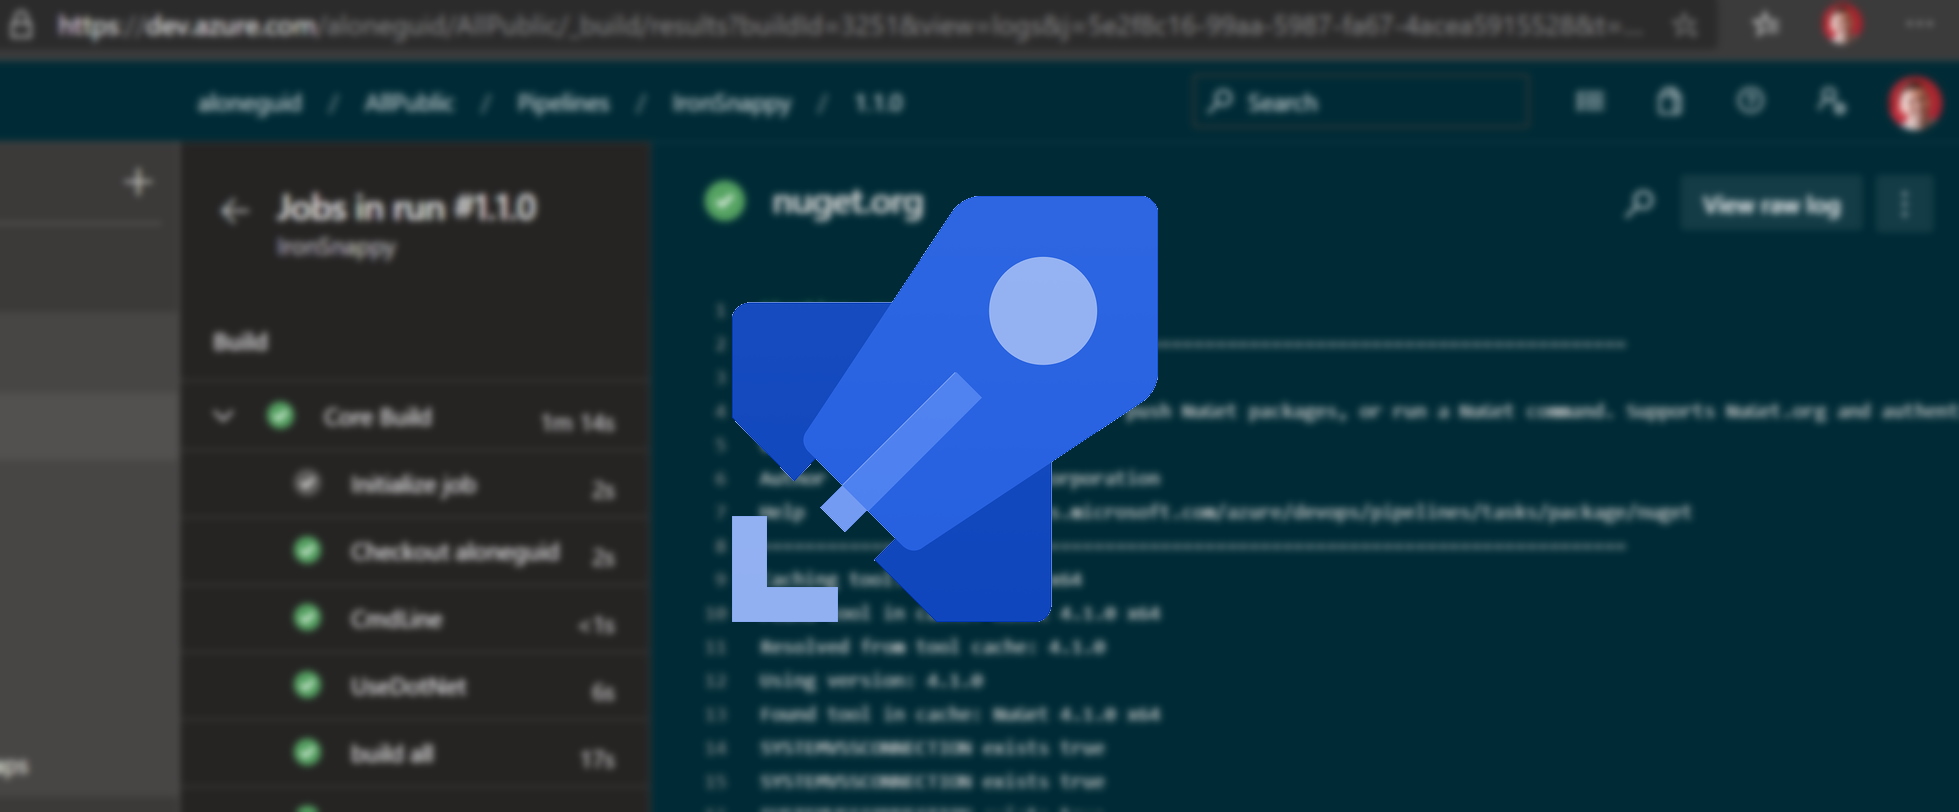
Now, when running the pipeline I get the output:
Successfully created package '/home/vsts/work/1/s/src/IronSnappy/bin/Release/IronSnappy.1.1.0.nupkg'
That's it.
Collecting Packages
Once the build is done, NuGet packages are generated, and it's a matter of publishing them. I'm a big fan of YAML multi-stage pipelines, therefore I like to split my pipelines in multiple stages. For instance, Build stage should just build and run unit tests, nothing more. I'm putting the full stage source here:
trigger:
  batch: true
  branches:
    include:
      - master
  paths:
    exclude:
      - README.md
      - doc/**/*

pr:
  branches:
    include:
      - master
  paths:
    exclude:
      - README.md
      - doc/**/*

variables:
  v.prefix: '1.1.0'
  vmImage: 'ubuntu-latest'

stages:
- stage: Build
  jobs:
  - job: Core
    displayName: 'Core Build'
    pool:
      vmImage: $(vmImage)

    steps:

    - script: echo "##vso[build.updatebuildnumber]$(v.prefix)"

    - task: UseDotNet@2
      inputs:
        packageType: 'sdk'
        version: '3.x'

    - task: DotNetCoreCLI@2
      displayName: 'build all'
      inputs:
        command: 'build'
        projects: 'src/Snappy.sln'
        arguments: '-c release /p:Version=$(v.prefix)'

    - task: DotNetCoreCLI@2
      displayName: 'run tests'
      inputs:
        command: test
        projects: ./src/Snappy.sln
        arguments: '-c release /p:Version=$(v.prefix)'

    - task: CopyFiles@2
      displayName: 'copy generated nugets'
      inputs:
        SourceFolder: src
        Contents: '**/*.nupkg' # search for nupkg recursively
        TargetFolder: ' $(build.artifactstagingdirectory)'
        CleanTargetFolder: true
        OverWrite: true
        flattenFolders: true

    - task: PublishBuildArtifacts@1
      displayName: 'archive nugets'
      inputs:
        ArtifactName: nuget
Notice the last two new tasks - one collects NuGet packages into $(build.artifactstagingdirectory) folder, another just publishes them out of the stage, and it's all done.
Publishing to NuGet and generating Release Notes
The next stage is to publish live and generate release notes on GitHub. This is a good place for a new stage, as it has nothing to do with build.
I'll paste the full stage definition here and explain what it does, both in comments and below.
- stage: Release
  # set dependency on Build stage, so that it runs after only
  dependsOn: ['Build']
  # set run condition:
  # 1. only run when running against master branch, we don't want to run on other branches and PR builds
  # AND
  # 2. if Build succeeds
  condition: "and( eq(variables['Build.SourceBranch'], 'refs/heads/master'), succeeded('Build') )"
  jobs:
  - deployment: NugetOrg
    displayName: 'nuget.org public feed'
    pool:
      vmImage: $(vmImage)
    environment: live
    strategy:
      runOnce:
        deploy:
          steps:
          # download artifacts - nuget packages in this case
          - task: DownloadBuildArtifacts@0
            inputs:
              buildType: 'current'
              downloadType: 'single'
              artifactName: 'nuget'
              downloadPath: '$(System.ArtifactsDirectory)'
          # push to nuget.org
          - task: NuGetCommand@2
            displayName: nuget.org
            inputs:
              command: push
              packagesToPush: '$(System.ArtifactsDirectory)/nuget/*.nupkg'
              nuGetFeedType: external
              publishFeedCredentials: 'nuget.org (aloneguid)'
          # create nice release definition in GitHub
          - task: GitHubRelease@1
            inputs:
               gitHubConnection: 'aloneguid'
               repositoryName: 'aloneguid/IronSnappy'
               action: 'create'
               target: '$(Build.SourceVersion)'
               tagSource: 'userSpecifiedTag'
               tag: '$(Build.BuildNumber)'
               changeLogCompareToRelease: 'lastFullRelease'
               changeLogType: 'commitBased'
The first one we do is define dependency on Build stage. If you don't do that, your stage may run before build which we don't really want!
Also I'd like for it to run only against master branch, because this pipeline runs against PR branches as well, therefore I'll use stage condition expression. One of the awesome things in Azure Pipelines is that you can not just use plain conditions, but also expressions. They are a powerful way to reuse your pipeline depending on how it runs, which is missing in many other CI/CD systems and you end up just duplicating your pipeline for those different environments.
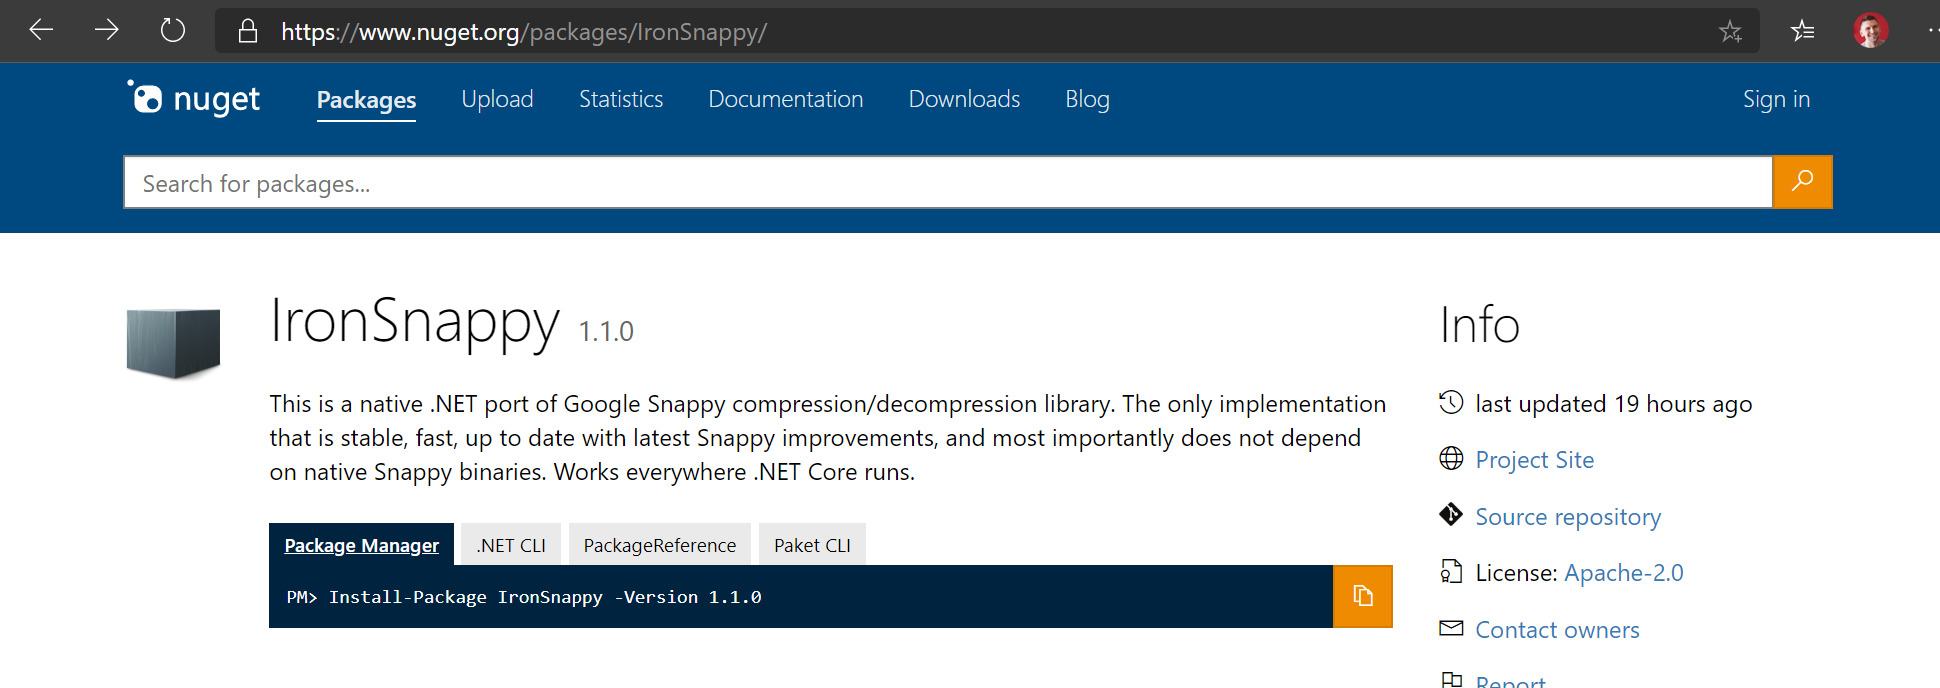
Then DownloadBuildArtifacts@0 task downloads NuGet packages from the previous stage, and NuGetCommand@2 publishes it live to NuGet.org:
And another nice feature you can add is to create release notes with GitHubRelease@1 task which allows consumers of your library and yourself to understand what were the changes in the latest release:
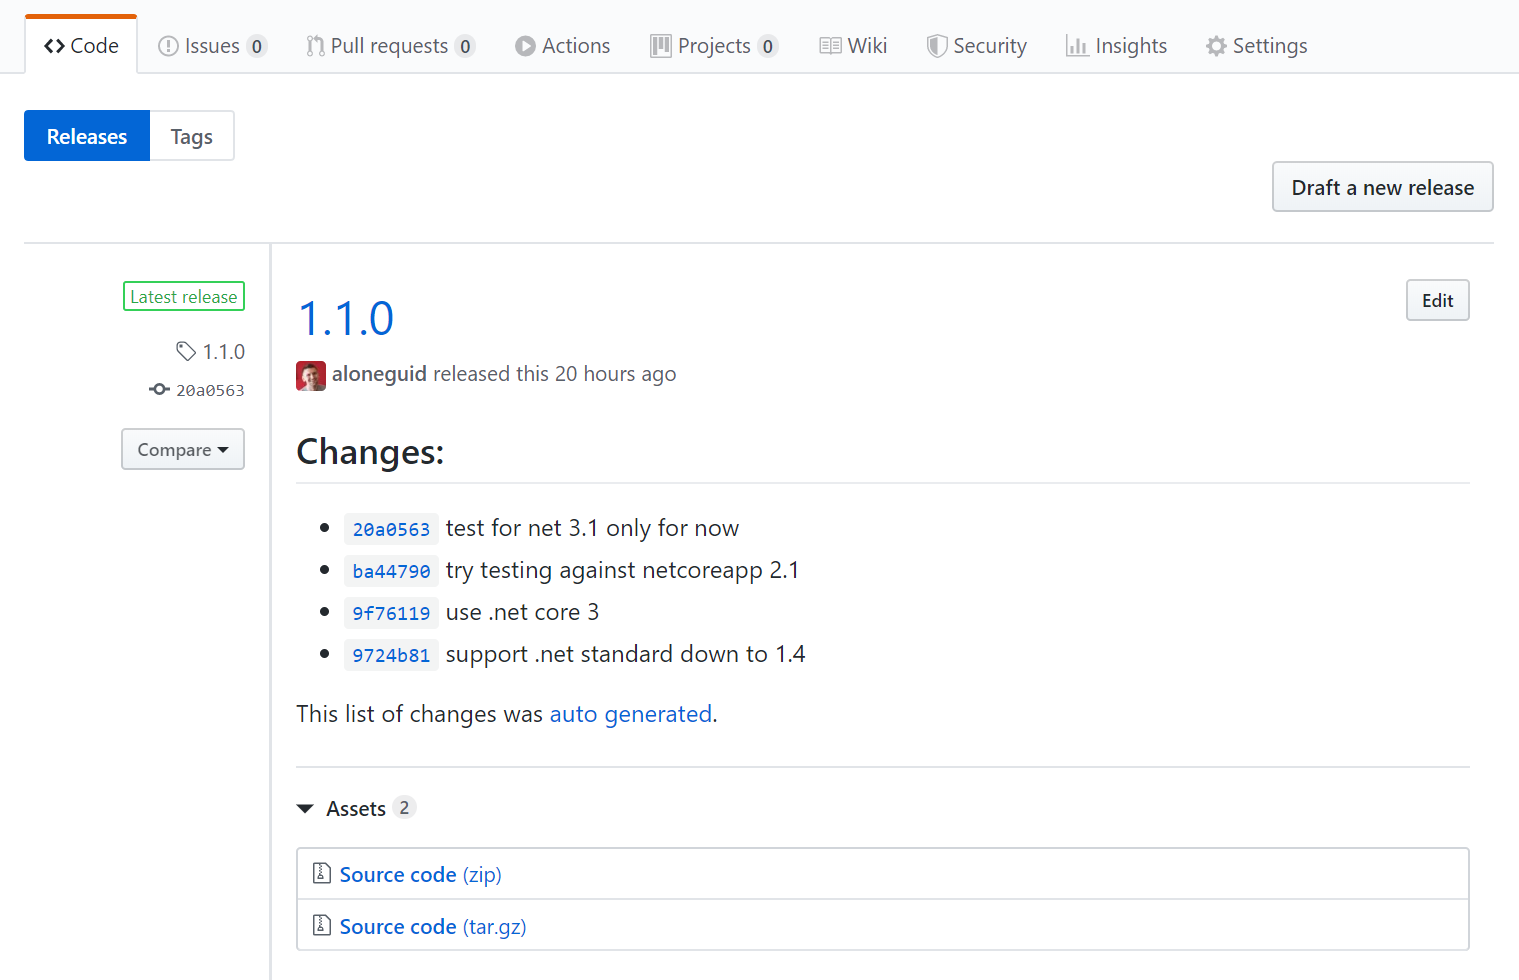
Saves your precious time to generate release notes yourself. In this case release notes are generated based on commits since last release, but you can customise it to your needs.
Essentially, that's it. No third-party plugins or complicated ceremony with CI/CD, all simple and effective. You can reuse this pipeline in other projects with minimum modifications as well. If you need the latest version of this pipeline and see how it works in action you can check the GitHub repo used in this post as an example.
Thanks for reading. If you would like to follow up with future posts please subscribe to my rss feed and/or follow me on twitter.